Kiosk Ordering for Dine-In
This guide explains the full customer ordering flow for Dine-In using the i-Kiosk self-ordering app.
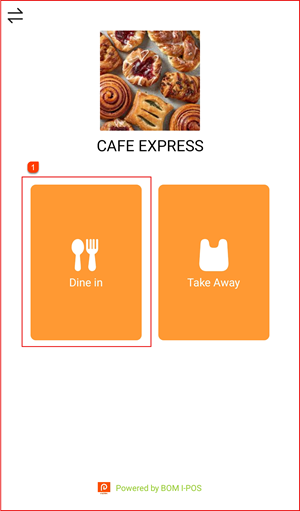
Step 1: Select Dine-In
On the kiosk home screen, tap Dine in ① to begin a dine-in order. Alternatively, tap Take Away for a takeaway order.
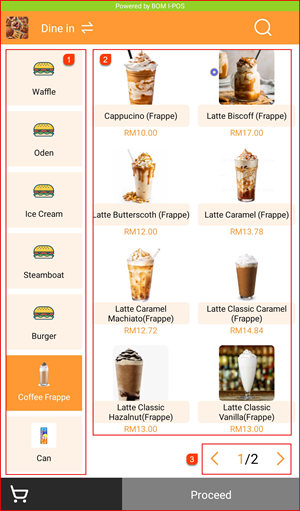
Step 2: Select Category & Item
Browse the menu by selecting a category from the left sidebar ① (e.g. Coffee Frappe). Items for the selected category are displayed on the right ②. Use the page navigation ③ to browse more items. Tap an item to select it.
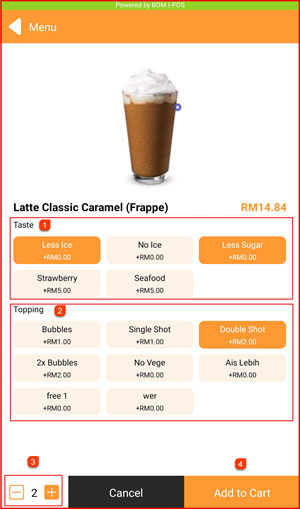
Step 3: Select Modifiers (Taste & Topping)
After tapping an item, the item detail page opens. Select your preferred options:
- Taste ① — e.g. Less Ice, No Ice, Less Sugar, Strawberry, Seafood
- Topping ② — e.g. Bubbles, Single Shot, Double Shot, 2x Bubbles
Adjust quantity using the − / + buttons ③, then tap Add to Cart ④.
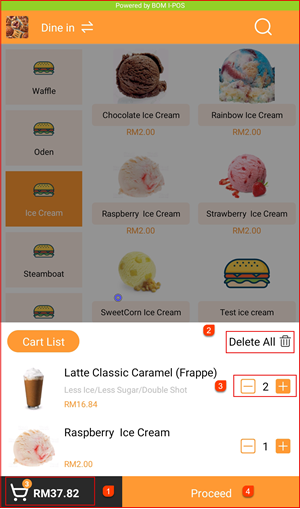
Step 4: Review Cart & Add More Items
The cart total is shown at the bottom left ①. Tap Cart List to expand and review your cart items. You can:
- Tap Delete All ② to clear the entire cart
- Adjust individual item quantities using − / + ③
Continue adding items or tap Proceed ④ when ready to checkout.
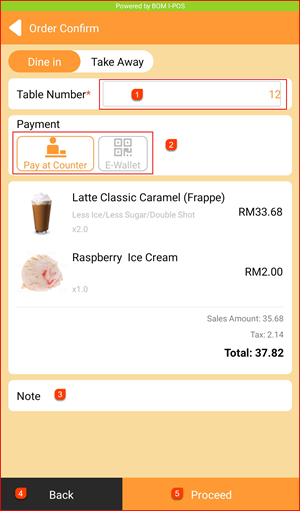
Step 5: Order Confirm & Select Payment Method
The Order Confirm screen displays your order summary. Fill in the details:
- Table Number ① — Enter your table number
- Payment ② — Choose a payment method:
- Pay at Counter — Pay cash or card at the counter after ordering
- E-Wallet — Pay via e-wallet QR scan
- Note ③ — Add any special instructions (optional)
Tap Back ④ to go back, or Proceed ⑤ to confirm the order.
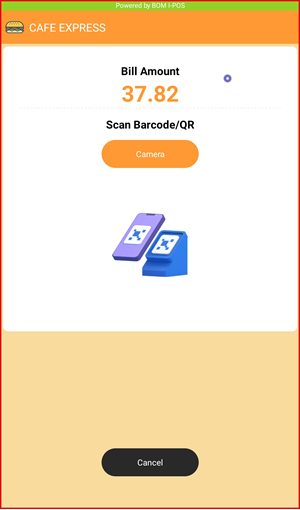
Step 6: E-Wallet Payment
If E-Wallet is selected, the payment screen will show the Bill Amount and a prompt to Scan Barcode/QR. Tap Camera to open the QR scanner and scan your e-wallet QR code to complete the payment. Tap Cancel to go back.
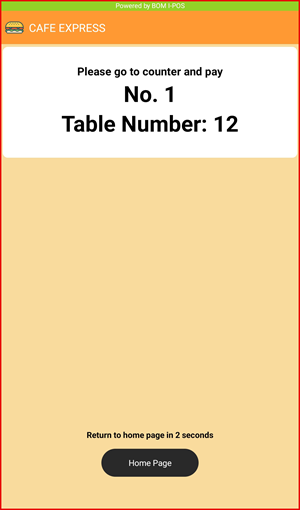
Step 7: Pay at Counter
If Pay at Counter is selected, the screen will display your order number and table number (e.g. No. 1 / Table Number: 12). Bring this to the counter to make payment. The kiosk will automatically return to the home page after 2 seconds.