Blog
The Blog section in the i-POS Engage backend allows you to create and publish promotional or informational articles that are visible to your members through the member app.
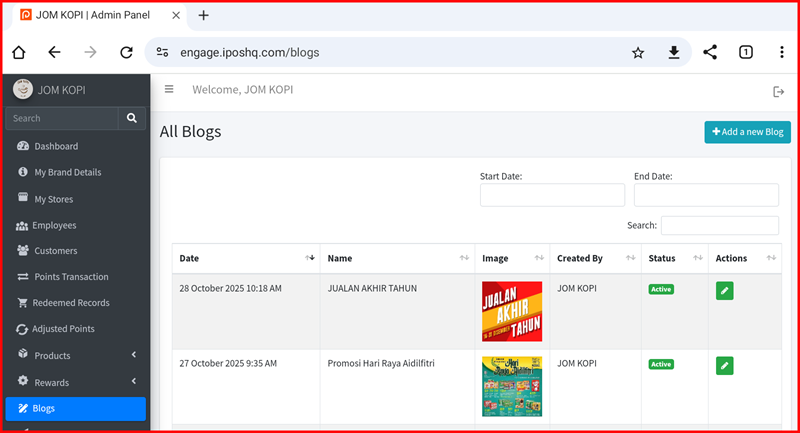
Step 1 — Navigate to Blogs
Log in to the i-POS Engage Admin Panel. From the left sidebar, click Blogs. The All Blogs page displays a list of all existing blog posts with the following columns: Date, Name, Image, Created By, Status, and Actions. You can filter by Start Date and End Date, or use the Search box to find a specific post.
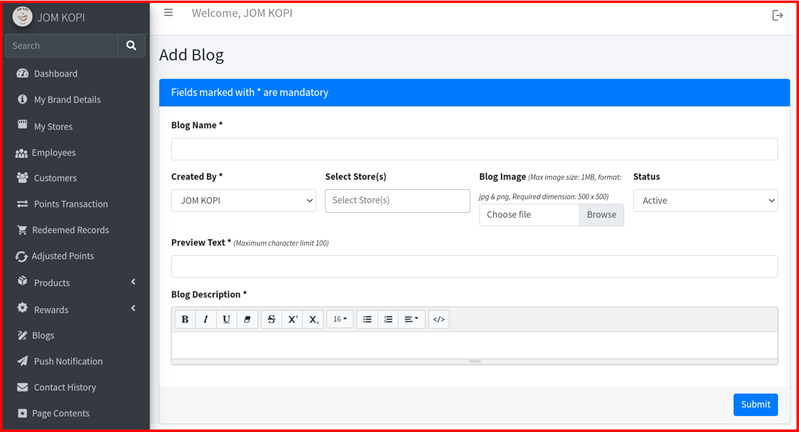
Step 2 — Add a New Blog
Click the + Add a new Blog button (top-right) to open the Add Blog form. Fill in the following fields:
- Blog Name * — The title of your blog post.
- Created By * — Select the author (defaults to your brand name).
- Select Store(s) — Choose which stores this blog is published for.
- Blog Image — Upload a cover image (max 1 MB, JPG/PNG, required dimension: 500 × 500 px).
- Status — Set to Active to publish immediately, or Inactive to save as draft.
- Preview Text * — A short teaser shown in the blog list (maximum 100 characters).
- Blog Description * — The full blog content, written using the rich text editor.
Click Submit to publish the blog post.