TeamViewer QuickSupport
TeamViewer QuickSupport is a remote support application that allows iPos support technicians to connect to your device remotely to assist with troubleshooting and configuration.
Step 1: Open the QuickSupport App
On your device home screen, tap the QuickSupport app icon (blue icon with a white arrow symbol) to launch it.

Step 2: Share Your ID with the Support Technician
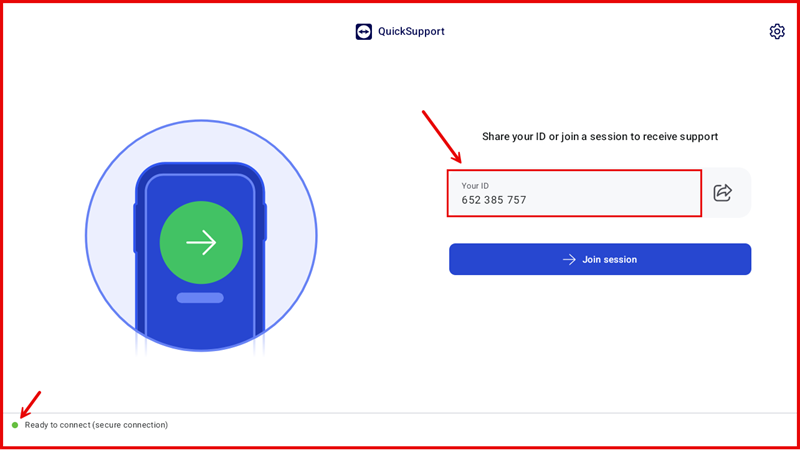
The QuickSupport app will open and display Your ID (e.g. 652 385 757). Provide this ID to the iPos support technician so they can initiate the remote session. The status bar at the bottom will show "Ready to connect (secure connection)".
Step 3: Verify the Incoming Connection
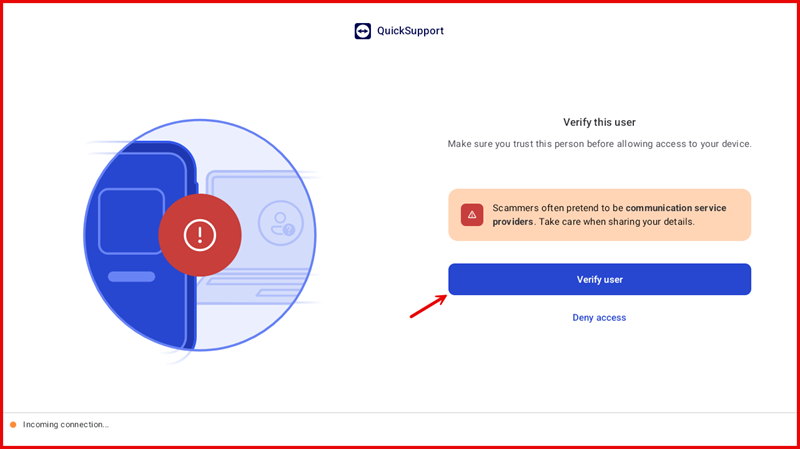
When the support technician connects, a Verify this user screen will appear with a warning: "Make sure you trust this person before allowing access to your device." The status bar at the bottom will change to "Incoming connection...". Tap Verify user to proceed.
Step 4: Review the Support Technician Details
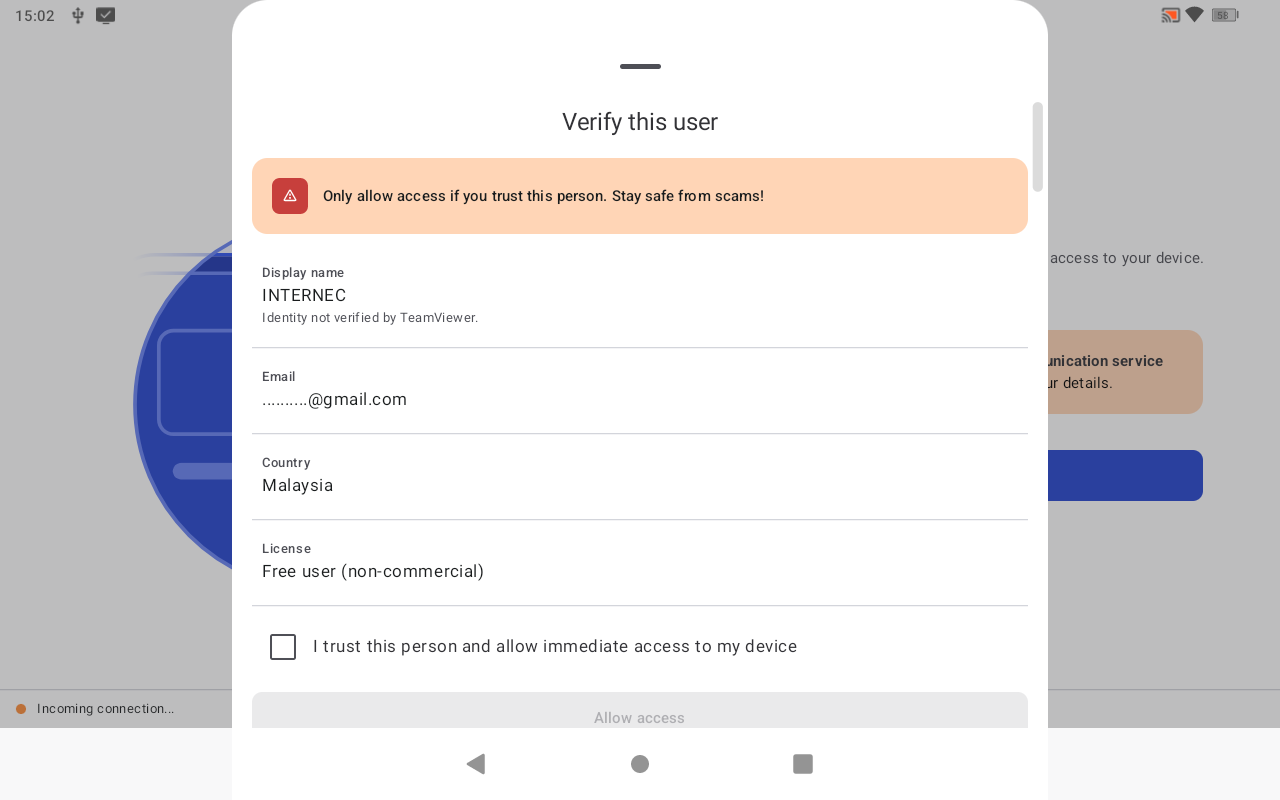
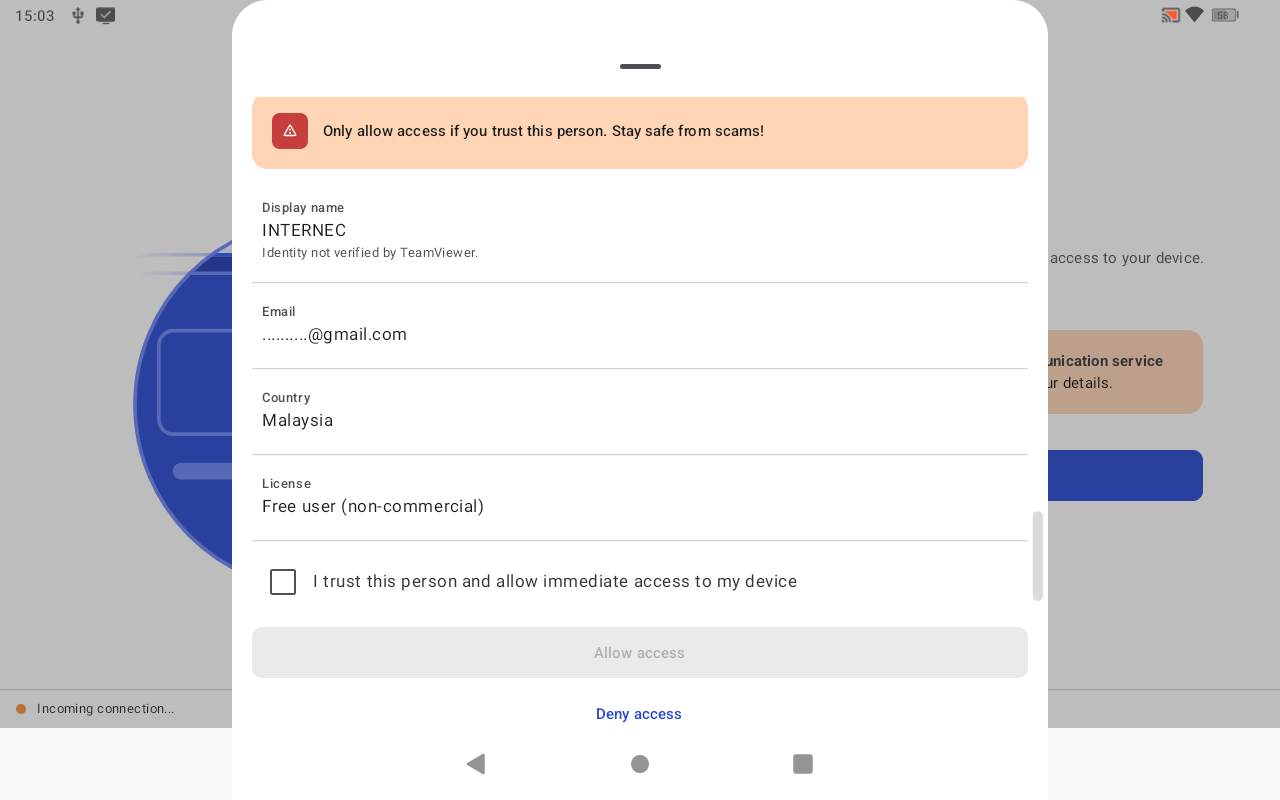
A details sheet will appear showing the connecting user information:
- Display name: INTERNEC
- Email: .........@gmail.com
- Country: Malaysia
- License: Free user (non-commercial)
Review the details and scroll down to see the trust checkbox and Allow access button.
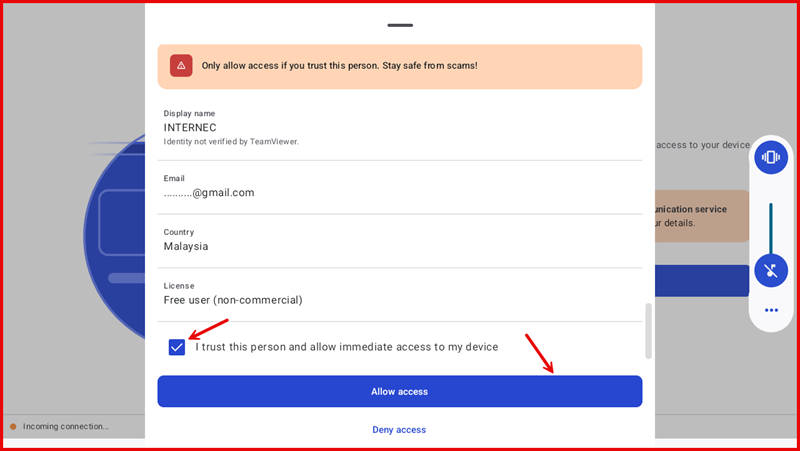
Step 5: Tick "I Trust This Person" and Allow Access
Tick the checkbox "I trust this person and allow immediate access to my device", then tap the Allow access button to grant the support technician access to your device.
Step 6: Grant Remote Access
After ticking the trust checkbox, the Allow access button becomes active. Tap it to confirm and allow the support technician to connect remotely.
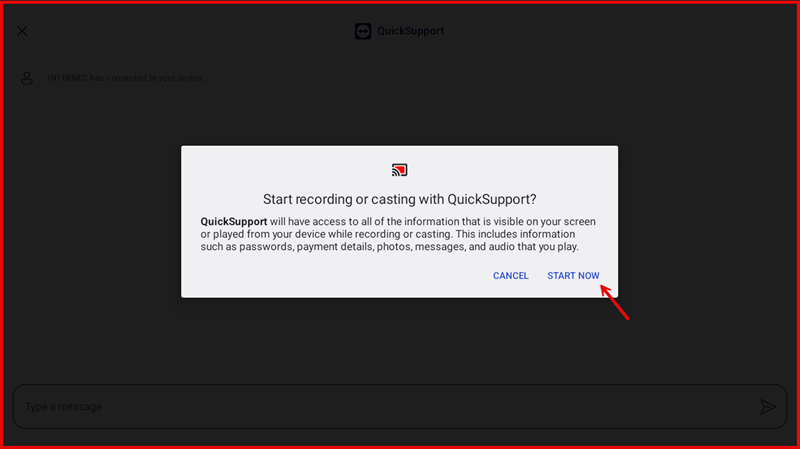
Step 7: Allow Screen Recording
A system prompt will appear asking "Start recording or casting with QuickSupport?" QuickSupport will have access to all information visible on your screen, including passwords, payment details, photos, messages, and audio. Tap START NOW to grant permission and begin the support session.